Last Updated: October 26, 2026
Quick Summary
High quality finish carpentry is the art of installing trim, molding, cabinetry, and architectural details with precision and care. Every joint should be tight, every reveal consistent, and every line level and plumb, so the work looks seamless and intentional rather than noticeably installed.
- Reveal variation around a single opening should not exceed about 1/16 inch when measured at top, bottom, left, and right
- Trim-to-wall fit should show no light under a straightedge, with caulk beads no wider than about 1/8 inch
- Casing must be level and plumb within the level’s marked tolerance, typically 1/16 inch per 4 feet
- Nail holes must be filled and sanded flush, not dimpled and painted over
- Miter and coped joints should be wood-to-wood contact that does not yield to fingernail pressure
Table of Contents
- What High Quality Finish Carpentry Looks Like
- How to Inspect Trim Work for Precision and Fit
- Evaluating Miter Joints, Corners, and Joint Quality
- Signs of a Good Finish Carpenter in Installation Technique
- Quality Cabinet Installation Standards and Alignment
- Creating a Finish Carpentry Quality Checklist for Your Project
- Getting Your Finish Carpentry Work Inspected and Approved
- Frequently Asked Questions
What High Quality Finish Carpentry Looks Like
High quality finish carpentry is the art of installing trim, molding, cabinetry, and architectural details with precision and care. It’s the difference between a room that looks polished and intentional versus one that feels unfinished.
The best finish carpentry starts with accurate measurements and precise cuts: every joint tight, every reveal consistent, every line level and plumb.
Most homeowners assume that if cabinets are installed and doors close, the job is done well. Real quality shows up in details most people miss until they’re standing inches away.
How to Inspect Trim Work for Precision and Fit
Most trim inspections fail because the inspector doesn’t know what number counts as acceptable. “Looks tight” is not a standard.
Level and plumb. Set a 4-foot level on top of door and window casing and on the face of the casing.
Surface and edge quality. Run a fingernail across every painted edge at a 45-degree angle.
Fasteners. Nail holes should be filled and sanded flush, not dimpled and painted over.
Paint and caulk as concealment. This is the check most homeowners miss.
Do not accept a final walkthrough on painted trim alone. Ask the contractor for photos of the primed installation, or inspect before the topcoat goes on. Paint hides more finish-carpentry defects than any other step in the process.
Key inspection points (with thresholds):
- Reveal variation around one opening: no more than about 1/16 inch
- Trim-to-wall gap: no light visible under a straightedge; caulk bead no wider than about 1/8 inch
- Casing level/plumb: within the level’s marked tolerance, typically 1/16 inch per 4 feet
- Baseboard level across a 10-foot wall: no more than about 1/8 inch of rise or fall
- Nail holes: filled and sanded flush, no visible shadow under raking light
- Joint seams: wood-to-wood contact, not soft filler that yields to a fingernail
Use these measurable thresholds with basic tools to evaluate trim quality objectively.
| Inspection Point | Acceptable Standard | Measurement Method |
|---|---|---|
| Reveal variation around one opening | No more than about 1/16 inch | Measure top, bottom, left, right with tape measure |
| Trim-to-wall fit | No light visible under straightedge | Hold flashlight flat against wall |
| Caulk bead width | No wider than about 1/8 inch | Visual inspection with flashlight |
| Casing level and plumb | Within level tolerance, typically 1/16 inch per 4 feet | Use 4-foot level on casing |
| Baseboard level across 10-foot wall | No more than about 1/8 inch variation | Use 4-foot level on top edge |
| Nail holes | Filled and sanded flush | Inspect with raking light for shadows |
| Joint seams | Wood-to-wood contact, not soft filler | Press fingernail into seam at 45-degree angle |
Evaluating Miter Joints, Corners, and Joint Quality
Miter joints are where two trim pieces meet at an angle, typically 45 degrees. They are among the hardest joints to execute well because they require perfect cuts and fitting. A good miter joint should be so tight you can barely see the seam.

Run your fingernail along the miter joint. If you feel a step or gap, the fit isn’t tight enough.
Inside corners are trickier than miters. Trim pieces should meet with no gap and no overlap: one piece sits perfectly against the wall while the other fits snugly against it.
Coping joints, where one piece of trim is cut to fit the profile of another, require skill and precision.
Signs of a Good Finish Carpenter in Installation Technique
A good finish carpenter measures twice and cuts once.
Watch how trim is fastened.
The best finish carpenters understand sequencing: they install trim in the right order so pieces fit together properly, sand between coats, fill nail holes carefully, and caulk appropriately without over-caulking.
A good finish carpenter also respects the material: understanding wood grain direction to minimize tear-out, selecting boards to minimize knots or defects in visible areas, and knowing how different woods move and behave.
Characteristics of skilled installation:
- Strategic fastener placement and countersinking
- Proper caulking, only where needed, not masking gaps
- Careful board selection and grain matching
- Attention to wood movement and expansion
- Consistent finishing and surface preparation
Quality Cabinet Installation Standards and Alignment
Cabinet installation requires precision because cabinets are often the most visible and expensive element in a room. They need to be level, plumb, and aligned with each other.
Check that cabinets are level front to back and side to side.
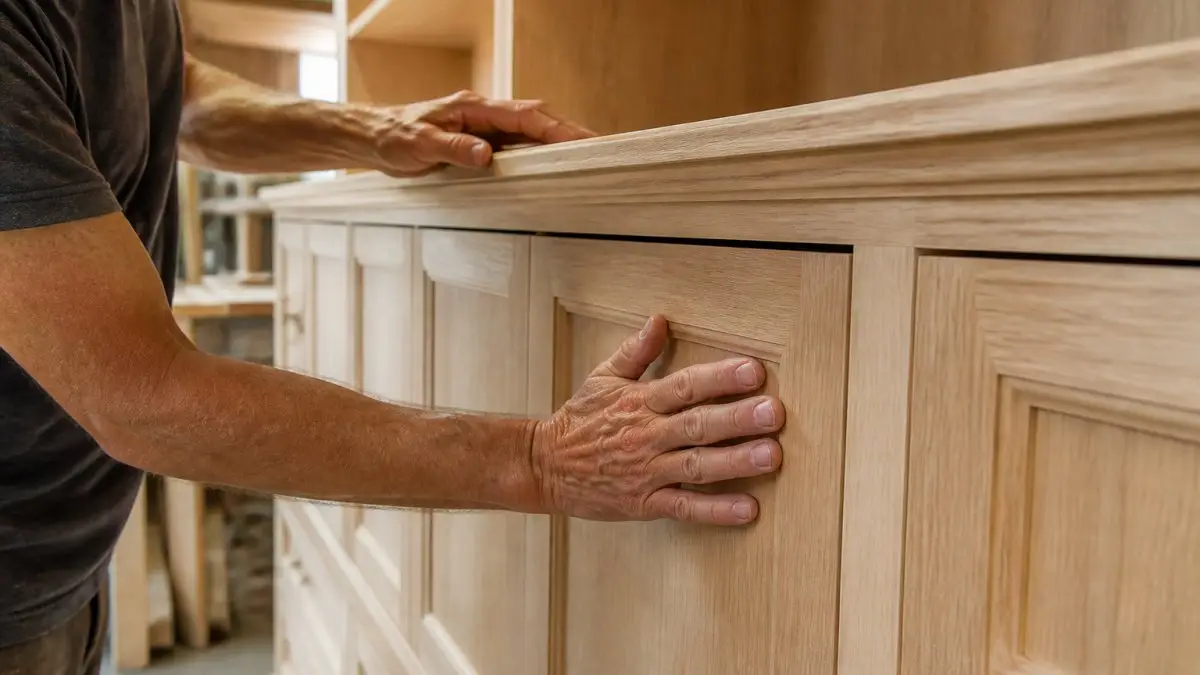
Cabinet doors should align perfectly, with consistent reveals between doors.
Open and close cabinet doors. They should swing smoothly without binding or rubbing, close evenly, and latch properly without being forced.
Look at the fit between cabinets and walls. View examples of professional cabinet installation that meets quality standards. Gaps should be minimal and even.
Creating a Finish Carpentry Quality Checklist for Your Project
A checklist is only useful if each line has a pass/fail test and a place to record the result. Access a ready-made quality checklist to evaluate your finish carpentry work.
How to use it. Walk each room once with the list, a tape measure, a 4-foot level, a flashlight, and a phone camera. Photograph every failed line with the tape measure in frame and number each defect (e.g., “Kitchen-03: reveal varies 1/4 inch to 3/8 inch at pantry door”).
Room-by-room punch list
Doors and openings
- Reveal variation around each opening: no more than about 1/16 inch (measure all four sides)
- Casing level and plumb: within level tolerance, typically 1/16 inch per 4 feet
- Miter and coped joints: wood-to-wood contact, seam does not yield to a fingernail
- Door swing: no binding, latch engages without force, door does not swing open or closed on its own
- Nail holes filled and sanded flush; no visible fasteners
Baseboard and shoe
- Top edge level across a 10-foot run: no more than about 1/8 inch of variation
- Scribed to floor: no light visible under a straightedge at the wall-floor junction
- Inside and outside corners: tight, no caulk bead wider than about 1/8 inch
- Returns and end caps: square, flush, and sanded
Crown and ceiling trim
- Spring angle consistent; no gaps at the wall or ceiling line wider than about 1/16 inch
- Coped inside corners: profile matches, no visible step
- Mitered outside corners: tight, no filler visible under raking light
Cabinets and built-ins
- Level front-to-back and side-to-side: within 1/16 inch per 4 feet
- Door reveals between adjacent doors: consistent within about 1/16 inch
- Door and drawer fronts flush: no more than about 1/16 inch proud or recessed
- Doors and drawers operate smoothly without rubbing
- Fillers and scribes at walls: gap no wider than about 1/8 inch, caulked cleanly
Stairs and railings
- Balusters plumb and evenly spaced; spacing consistent within about 1/8 inch
- Handrail height consistent and level or pitched evenly
- Newel posts plumb; joints tight
Paint and final finish
- No drips, runs, or brush ridges at caulk lines
- Caulk lines clean and no wider than about 1/8 inch
- Sheen consistent across adjacent surfaces
- No paint on hardware, glass, or flooring
Separating installation defects from material defects
Not every flaw is the carpenter’s fault, and a fair punch list distinguishes them.
- Installation defect: a joint cut short, a reveal that varies, a board not scribed to a wavy wall, a fastener left visible. These are corrected by rework.
- Material defect: a board that arrived warped, a casing with a milled profile that varies along its length, a cabinet door with a twisted stile. These are corrected by replacement, and the carpenter should have flagged them at delivery rather than installed them.
- Shared: a joint that opened because the material was installed green or without acclimation. The fix is rework, but the cause is a process failure worth noting for the next phase.
When you find a defect, ask the contractor which category it falls into. A carpenter who can tell you the difference is demonstrating the trade knowledge you are paying for.
The handover and punch-list process
A documented handover protects both sides. A repeatable sequence:
- Pre-final walkthrough. Inspect before the final coat of paint, ideally in primer, so masked defects are visible.
- Written punch list. Number each defect, attach a photo with the measurement in frame, and note the agreed correction.
- Correction window. Set a date for corrections and a second walkthrough. Verify corrections against the same thresholds, not by eye.
- Sign-off. Release final payment only after every punch-list item is verified closed. Most reputable contractors expect this and will not object to a written list.
A punch list with numbers and photos is the single most effective tool a homeowner has. It converts “this looks off” into “Kitchen-03: reveal varies 1/4 inch to 3/8 inch at pantry door,” which is a work order, not an opinion.
finish carpentry quality checklist | page:1
Getting Your Finish Carpentry Work Inspected and Approved
Before you sign off on finish carpentry work, do a thorough walk-through with the contractor. Point out any concerns immediately.
Take photos of completed work. Document any issues. Ask the contractor to fix problems before final payment.
If you’re unsure about quality, get a second opinion. Contact the company to have your finish carpentry inspected and approved. have your finish carpentry inspected and approved | page:4 A professional eye can spot issues you might miss.
According to the Architectural Woodwork Institute’s ANSI/AWI 0620-2024 guidelines, professional installation standards emphasize precision, proper sequencing, and attention to detail.
The U.S. Bureau of Labor Statistics projects steady demand for skilled carpenters through 2035, reflecting the ongoing need for quality finish carpentry work in homes across the country.
High quality finish carpentry isn’t just about aesthetics. It’s about durability, functionality, and spaces that look beautiful for decades.
At Saugahatchee Woodworks, we combine professional remodeling and finish carpentry to deliver intentional, high-quality spaces built to last. If you’re planning a kitchen renovation, bathroom remodel, or any project requiring finish carpentry, request an estimate to see how our team can bring precision and craftsmanship to your home.
Frequently Asked Questions
What are the signs of high quality finish carpentry?
High quality finish carpentry shows tight miter joints with no visible gaps, consistent reveals and spacing throughout the room, level and plumb installation, seamless transitions between materials, and clean lines with minimal caulk or filler needed. Doors and drawers operate smoothly, baseboards sit flush against walls, and trim maintains uniform spacing from room edges. The work demonstrates precise measuring, accurate cuts, and meticulous attention to alignment and detail.
How do I know if a finish carpenter is good?
A good finish carpenter produces work that shows consistent reveals, tight joints, and proper alignment without relying on excessive caulk or filler to hide gaps. They measure twice and cut once, ensure doors and drawers fit smoothly with even gaps, and install trim level and plumb. They understand wood movement, select appropriate fasteners, and prepare surfaces properly. Their work demonstrates craftsmanship through clean lines, seamless transitions, and attention to functionality alongside visual appeal.
What should I inspect before approving finish carpentry work?
Check that all trim is level and plumb using a level tool. Measure gaps and reveals at multiple points to confirm consistency. Open and close all doors and drawers to verify smooth operation and even spacing. Inspect miter joints and corners for tight fits and no visible gaps. Look for flush transitions between materials and surfaces. Verify that baseboards sit flush against walls and that all fasteners are set properly. Document any defects in writing before final approval and paint, as some issues become hidden once finished.
What are acceptable tolerances in finish carpentry?
Material movement, humidity, and installation conditions affect tolerances, so discuss acceptable standards with your finish carpenter before work begins.



Leave a Reply